There are a lot of blog posts and articles about .NET core. Most of them are focused on developing .NET core applications through Visual Studio. That's great, but I know a lot of .NET developers view the console more like this:

Let's change that. This will be the first in a series of posts focusing on using the command line and VS Code to develop, build, and maybe even deploy some .NET core code. To get started let's set up your development environment.
Install Git for Windows
I'll be using git for source control. It isn't required to make a .NET core application, but if you're not using some source control you should stop to consider your life choices.
In future articles I'm planning to also use git to trigger a build & deployment. If this sounds interesting you can set it up with the installer found here.
Install Visual Studio Code
Visual Studio Code is not required, you can use whatever editor you like. That being said, VS Code is a great editor so I'm going to recommend you use it too. To get it go to https://code.visualstudio.com, download it, and then run the installer.
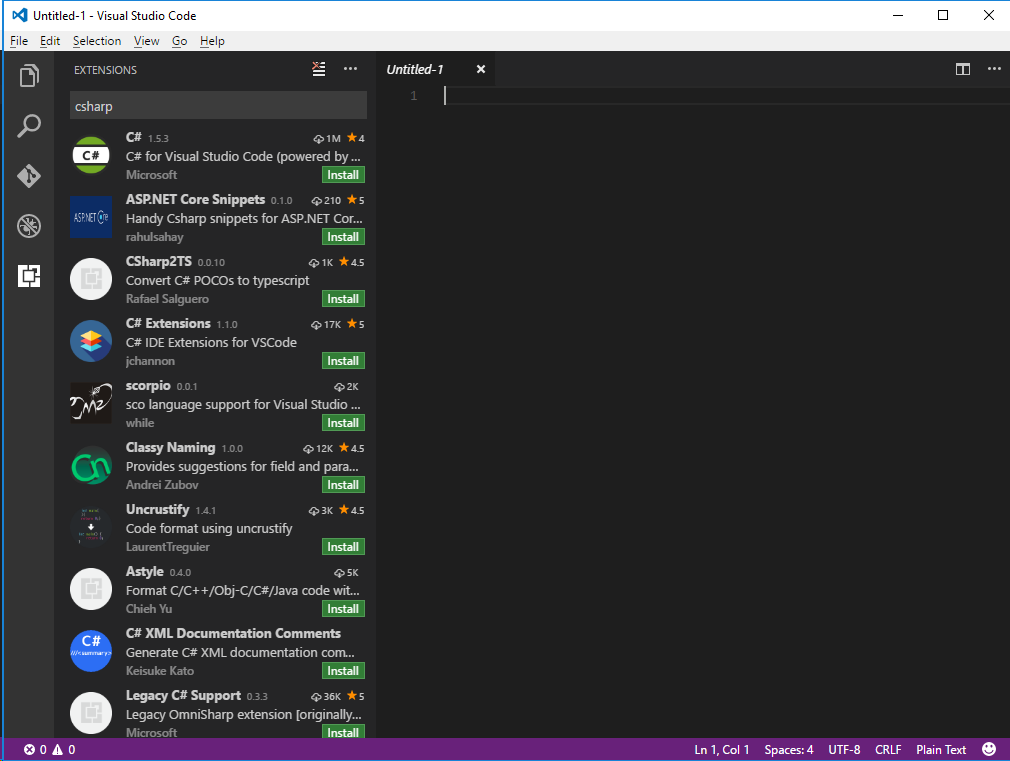
Code allows you to run extensions to enhance your development environment. A must have extension for working with .NET core is Microsoft's C# extension. This can be installed in VS Code by pressing Ctrl+P and then typing ext install csharp and pressing enter. You will be presented with a list of extensions in the sidebar, find the C# extension and click install.
Install .NET Core
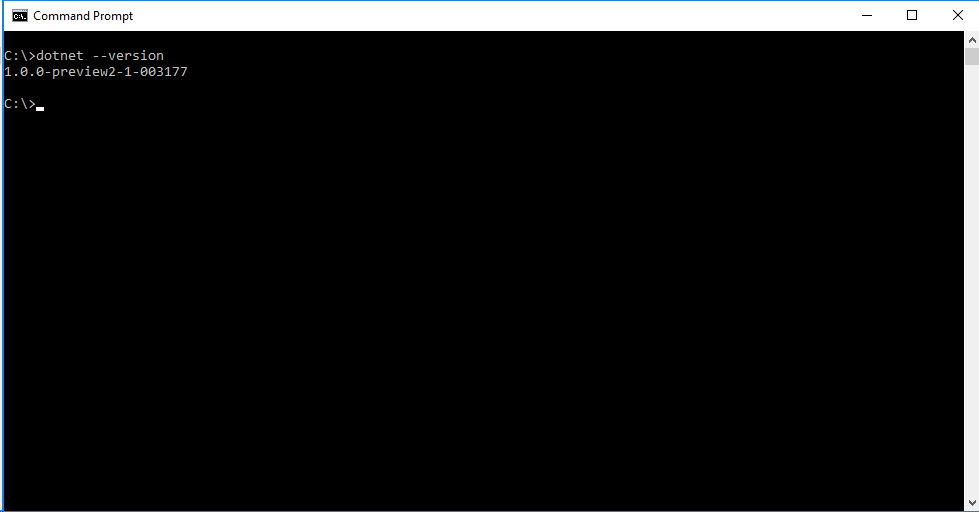
The goal of this post is to help you get going with .NET core on Windows. To get .NET core go to dot.net, download the windows command line SDK and install it. After the installer completes open a new command prompt. Run command dotnet --version and you should see something like this 1.0.0-preview2-1-003177
Install Node.js
What? Node...? Yes, we want to install node to use NPM to manage some other dependencies.
Go to https://nodejs.org/en/download and get the LTS (Long Term Support) Windows installer. When the download is complete, run the installer.
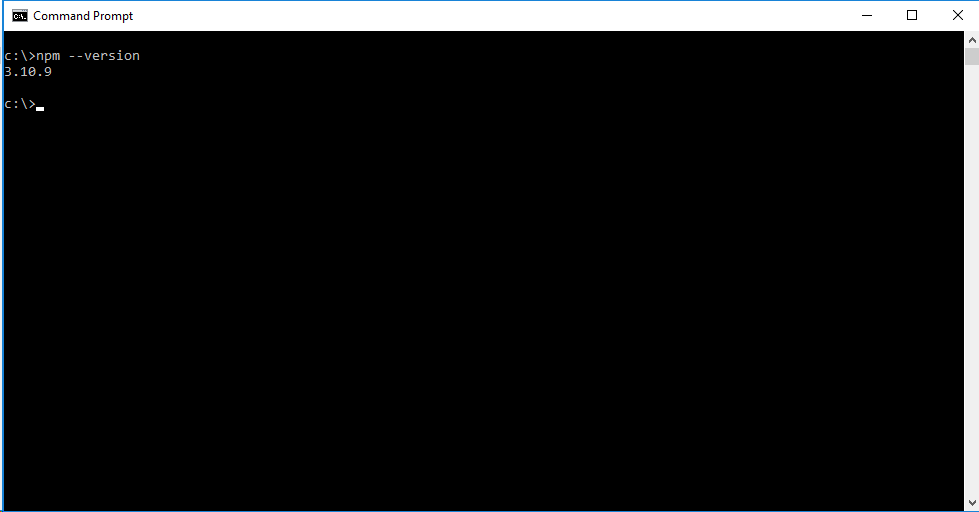
Open a new command line window, run the command npm --version, you should see something like this:
Install Yeoman & ASP.NET Core Generator
Yeoman is a nice utility that will scaffold some base .NET core projects, which saves a lot of typing and headaches when getting a base application set up.
Run these commands to complete the install of Yeoman:
npm install -g yo
npm install -g generator-aspnet
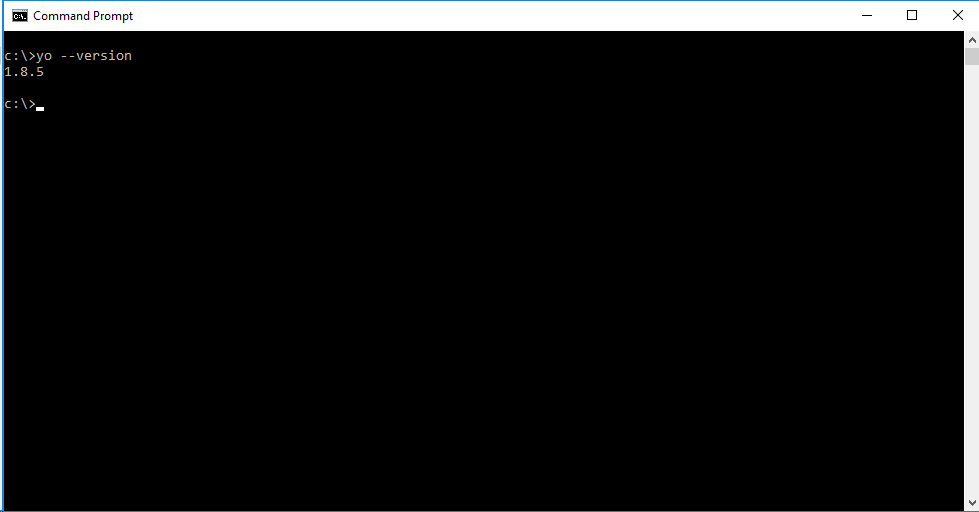
Run the command yo --version you should see something like this
Initialize a "Hello World" App
Navigate to directory where you will store your source code.
C:\source\ for this example, then run yo aspnet and you'll be presented with this nifty screen:
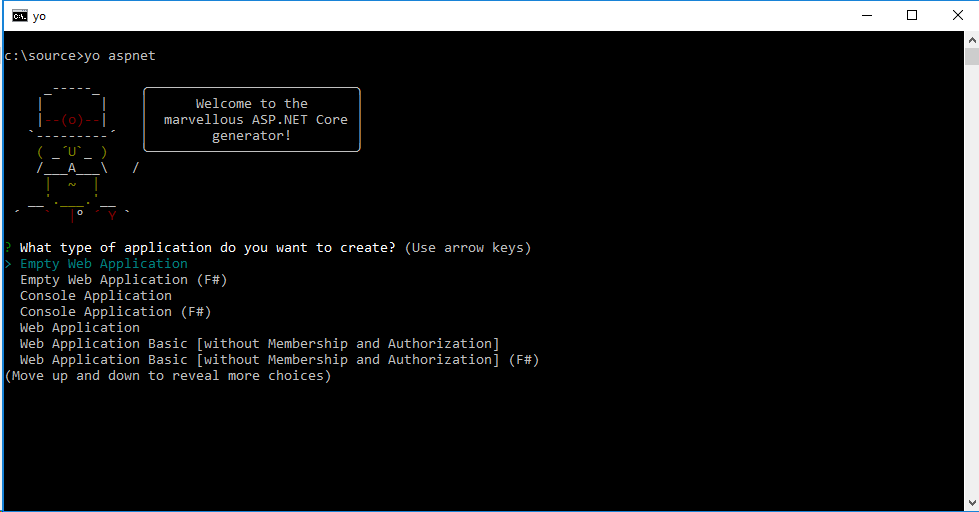
Select "Console Application" and give it the name "HWApp", then you'll see some messages about the files & directories that were created.
What we've done here is create a new directory, and initilize a new .NET core app in it. We could also use dotnet new to initialize the new project, but Yeoman gives us a better starting point.
Run Your App
Next we'll want to run a few more commands to restore our dependencies from Nuget, and the run the application.
cd HWApp
dotnet restore
dotnet run
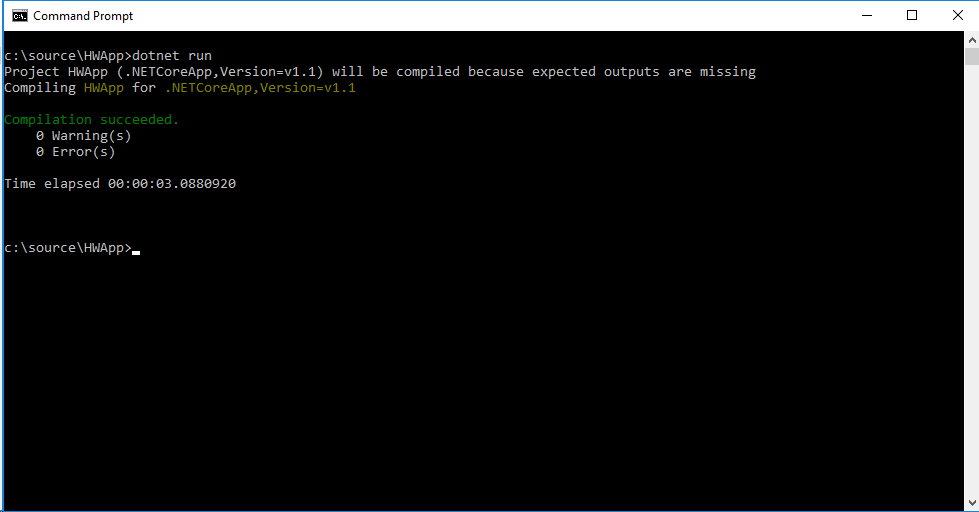
This isn't too terribly exciting, but this is your new .NET core application in action. To make a quick change to the code launch VS Code by typing code .
In VS Code open Program.cs and add the following code to the Main method:
Console.WriteLine("Hello World!");
Go back to your console, and execute the dotnet run command again, you should see "Hello World!" in the console.
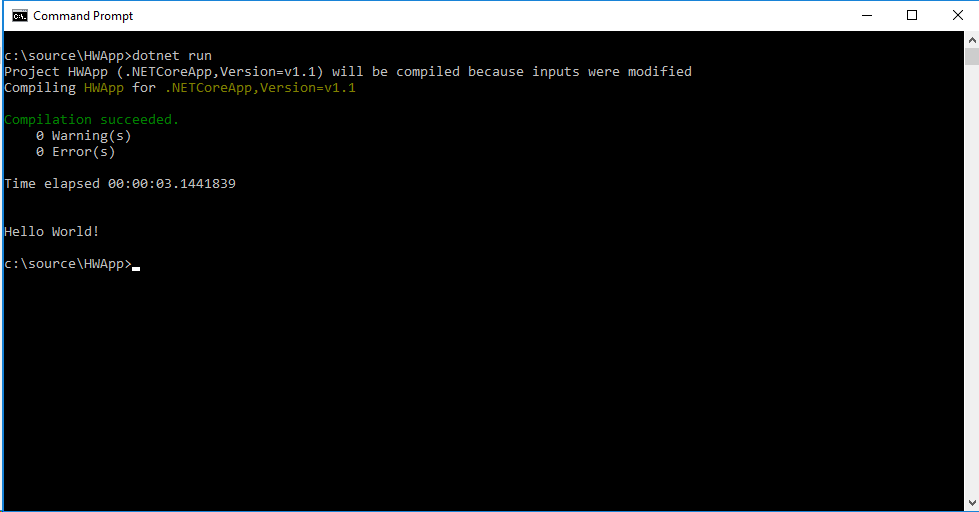
That's all there is to getting started with .NET core.
Check back soon for the next article in my .NET core series!